
Sending Brow Photos with Glasses: 3 Frames-On Shots We Need안경 착용자를 위한 눈썹 사진 가이드: 필수 3가지 샷
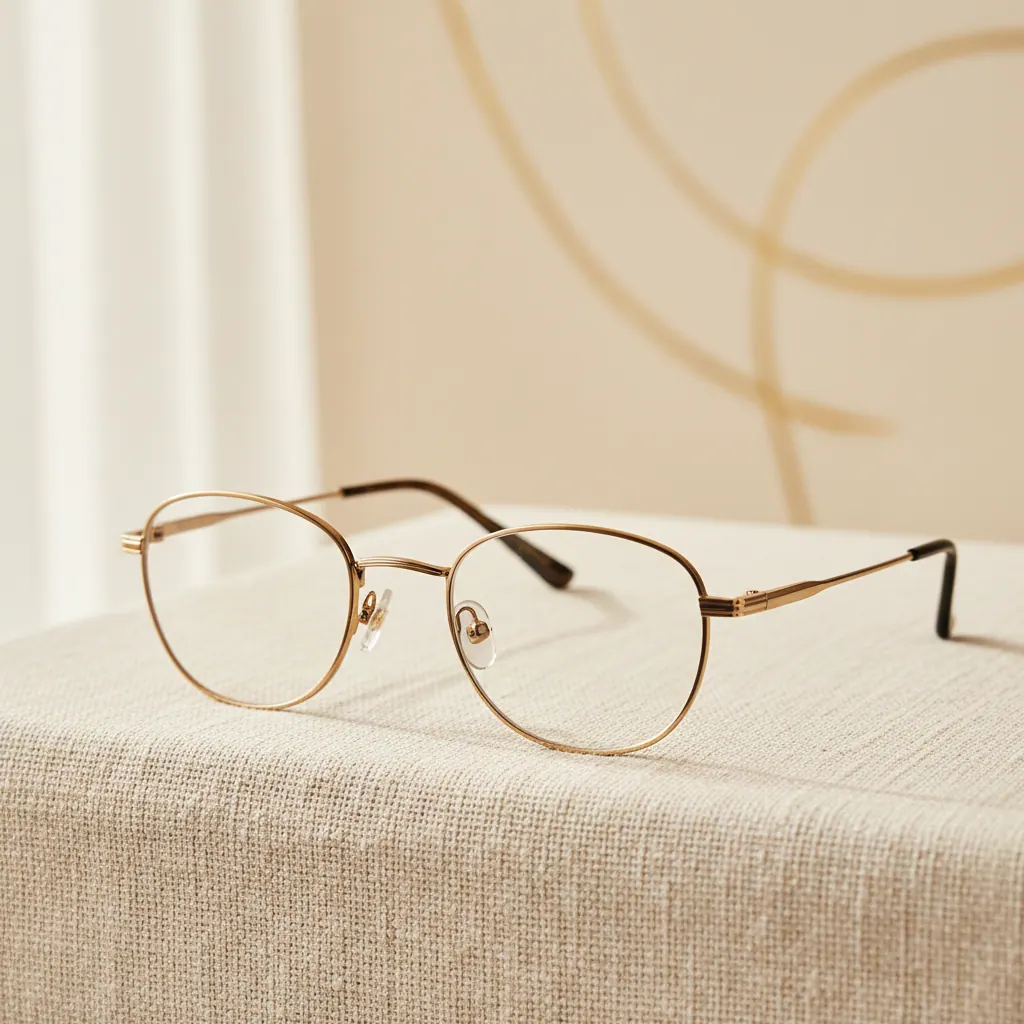
If you wear glasses every day, they are an essential part of your face and your style. At Aura Beauty, we understand that your permanent makeup brow design must harmonize perfectly with your frames. The shape, arch, and thickness of your brows should complement your glasses, not compete with them. This is why the photos you send for your consultation are so important. They are our first glimpse of your unique facial landscape. For clients who wear glasses, taking these photos correctly is the key to a brow design that looks balanced and beautiful, whether your glasses are on or off.
Taking clear, helpful photos might seem tricky, but it is simpler than you think. We do not need professional lighting or a perfect selfie. We just need a few specific shots that show us your natural brow structure in relation to your everyday frames. This guide will walk you through the three essential frames-on photos we need to design your perfect brows.
1. The Straight-On, Eye-Level Shot
This is the most important photo. It gives us the foundational view of how your brows and glasses interact.
How to Take It
Stand in front of a plain, well-lit wall. Natural, indirect daylight is best. Hold your phone at eye level, directly in front of your face. Look straight into the camera with a neutral, relaxed expression. Ensure both lenses of your glasses are fully visible and there is no glare obscuring your eyes or brows. Your entire face, from your hairline to just below your chin, should be in the frame.
What We Look For
In this shot, we analyze the alignment of your brows with the top rim of your frames. We assess the natural space between your brow and your lash line, and how your glasses sit within that space. This helps us determine the ideal brow thickness and where the arch should peak to lift and open up your eye area behind the lenses.
2. The Profile (Side) Shot
Glasses have depth, and your brows have a three-dimensional shape. The profile shot reveals this crucial relationship.
How to Take It
Turn your head to a 90-degree angle, so one side of your face is fully toward the camera. Again, keep the phone at eye level. Make sure your glasses are on straight and we can see the side of the frame and your entire brow from start to tail. It is helpful to take one for the left side and one for the right side, as facial features can be asymmetrical.
What We Look For
This angle shows us the projection of your brow bone and how your glasses sit on the bridge of your nose and over your ears. We can see if your brows are forward of the frame or tucked behind it, which influences how bold or soft the brow design should be. It also helps us plan the tail of the brow so it flows naturally with the side of your face and frame.
3. The Slightly-Downward Glance Shot
Your brows move with your expressions. This shot shows us their position when you are looking down, a common posture when reading or working.
How to Take It
Position the camera slightly above your eye level. Gently lower your gaze, looking down at about a 45-degree angle, as if you were reading a book in your lap. Do not tilt your head forward, just move your eyes. Keep your forehead and brows relaxed. Your glasses will likely slide down your nose a little, which is perfectly natural and what we want to see.
What We Look For
This perspective shows us the natural resting position of your brows and how much of them is visible over the top of your frames when you are in a common, relaxed position. It ensures the brow design will be visible and flattering not just when you are staring straight ahead, but in your daily life.
4. Common Photo Mistakes to Avoid
Even with the right angles, a few simple mistakes can hide the details we need.
Harsh Overhead Lighting
Bright light from above creates dark shadows under your brows, obscuring their true shape and your skin tone. Always aim for soft, diffuse front lighting.
Tilted Head or Phone
If your head is tilted or the camera is not level, it distorts our perception of symmetry. Double-check that your phone is straight before snapping the picture.
Wearing Makeup on Brows
Please send photos with your brows completely clean. Do not fill them in with pencil, powder, or gel. We need to see your natural hair growth, skin, and bare shape.
PRO TIP: For the most accurate assessment, take your photos with the glasses you wear most often. If you have multiple everyday pairs, feel free to send a set of photos for each style. This gives us a comprehensive view of your needs.
5. Next Steps After Your Photos
Once you have your three shots, you are ready to move forward with your consultation at Aura Beauty.
Submitting Your Photos
You can upload your photos directly through our secure booking system when you schedule your consultation appointment. Please label them clearly if possible (e.g., "front," "side," "down").
The Virtual Consultation
I, Justina, will personally review your photos before our virtual meeting. During the consultation, we will discuss your desired look, analyze your facial structure and glasses, and create a customized brow mapping plan. As one of the few Pharmesthetic-certified Superjection artists in the Atlanta area, I use specialized techniques to ensure natural, soft, and long-lasting results. You can learn more about my approach and credentials on our About page.
Booking Your Procedure
After we agree on a design, we will schedule your procedure. We welcome clients from across the Atlanta metro, including Duluth, Suwanee, Buford, Lawrenceville, Johns Creek, and beyond. All our service details and aftercare instructions can be found on our Services page.
Clear photos are the first step toward brows that beautifully frame your eyes and complement your glasses. By following this guide, you are helping us create a tailored design that enhances your unique features. We look forward to helping you achieve your beauty goals.